Adding BuddyPages
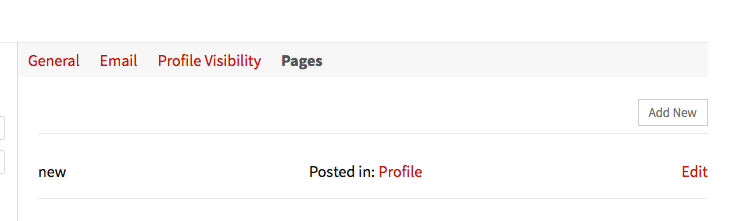
BuddyPages are added on the front of the site. Site admins can view all BuddyPages from the admin from the top level “BuddyPages” menu item. A site member can get to the BuddyPage creation/editing by visiting the “Pages” menu under user settings on their profile.
Click “Add New” to add a new page.
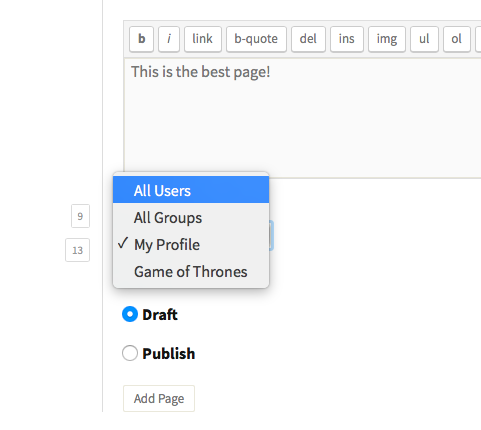
Enter a title and contents of your page. Choose to display it on your profile or in a group you administer. Save as a draft (only you can see) or publish (all members can see). The content editor will embed content links from
oEmbed services listed here.
 Click “Add Page” when finished with adding content and the page directs you to the edit screen for your new page. There will also be a link in the user navigation menu if you chose to display the page on your profile.
Site Admin
The site administrator creates pages in the same way as outlined above. However, there are a few more options from the “Post In” dropdown select. Site Administrators have the option to create pages to display on
All Users profiles as well as All Groups. These are known as “Site Wide” BuddyPages.
BuddyBoss
To get to the BuddyPages management screen with BuddyBoss, you need to visit the Account Settings section and find the “Pages” listing in the menu shown.
Example URL for BuddyPages management: https://mysite.com/members/USERNAME/settings/pages/
Once there, the same general UI demo’d above should be present, though it may visually look different based on current theme.